CHALLENGE RECAP
Design your first Earthen Tiny House
This is the RECAP PAGE where you have all the challenge materials in one place.
The challenge replay will be available for FREE until 10 February 2024
Thank you again for being part of the "Design your first Earthen Tiny House" Challenge. We hope you get a ton of value from this training.
This recap page has been set up for you to have all the materials in one place. It will be updated daily at around 3pm NZT. If you joined a bit late or are falling behind, it will allow you to catch up.
We still recommend you catch the daily LIVE trainings on Facebook, and that you ask questions and share your progress in the group. That way we can best support you.
Challenge Recap
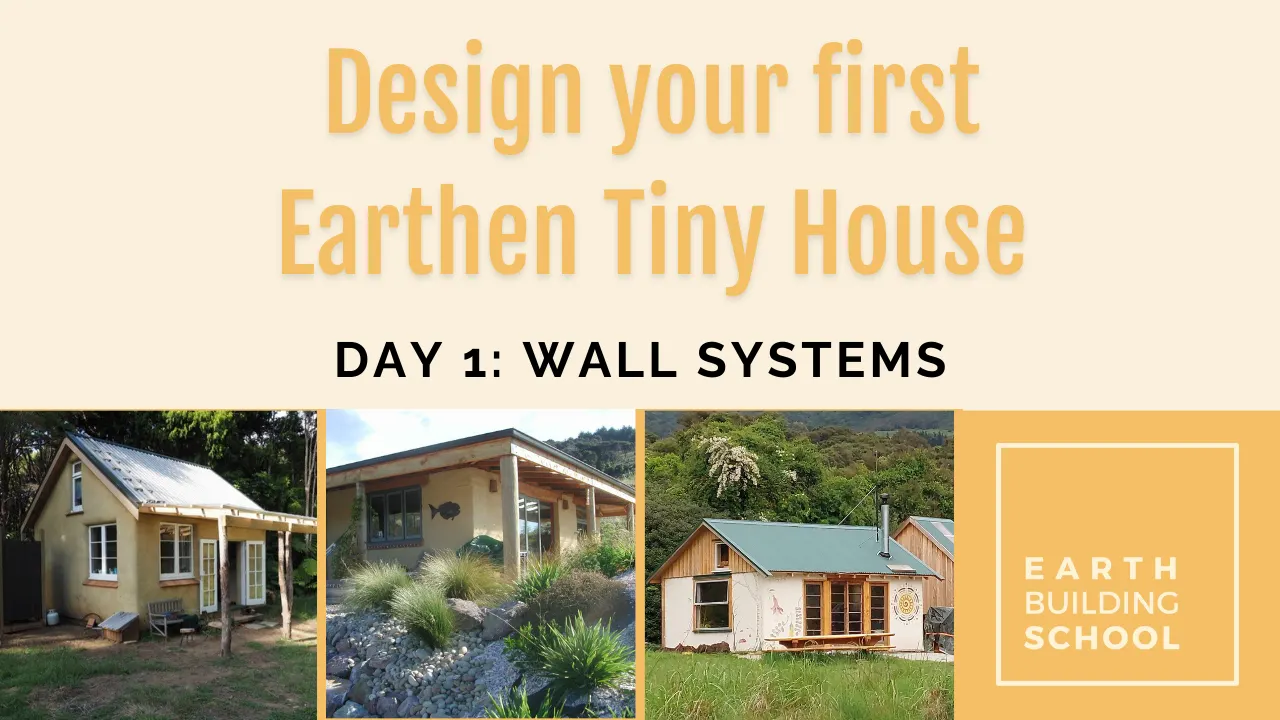
On the first day we we cover design and logistical considerations to help you decide what type of wall system best suits your personal situation.
We discuss two types of wall systems:
- Timber-framed construction with earthen infill/insulation, cladding, interior plaster (this could also be adapted to Hempcrete); or
- Solid, load-bearing earth walls
We introduce the relevant building standards, which are available for free download (see orange links to the left)
*even if you are not based in New Zealand, these building standards will be useful, at least as a starting point
Material List (you will need this for the coming days too)
- graph paper or squared paper
- pencil (HB or B)
- eraser
- scissors (optional)
- ruler (optional)
- calculator (optional)
- unwaxed baking paper for sketching (optional)
When you are designing for very small space, every measurement counts. A 10m2 floor plan is simple, and yet you can tweak things to be more functional and “just right”.
Starting with a 10m2 floor plan will also allow you to get the hang of the design considerations, which will make scaling to let’s say 30m2 easy (if this where you want to head).
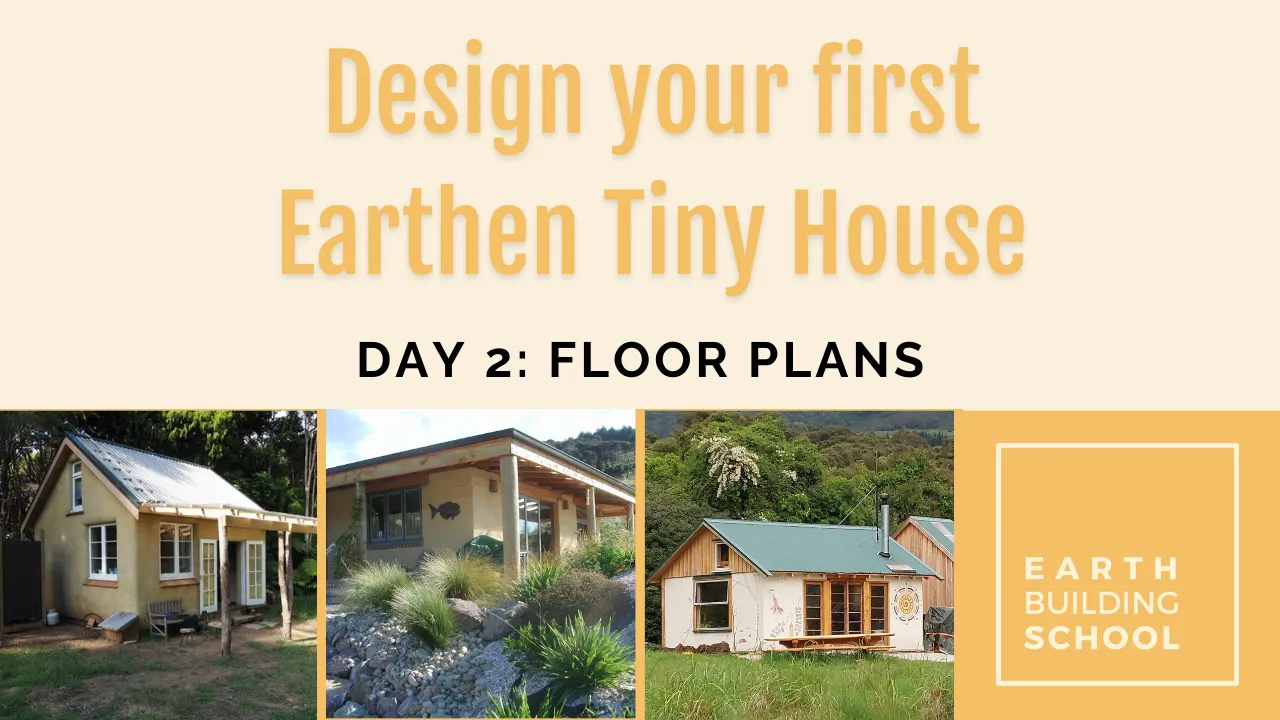
- On the second day we covered:
- Simple options for concept drawings
- Wall thickness, wall height and floor area
- Tips on functional use of space
- Play with furniture
- Pros and cons of including a sleeping loft
- What you need to consider when placing your openings
Make a list of furniture you would like to have in your 10m2 tiny house (incl.their measurements), and decide whether you would like to do the initial floor plan sketches by hand or in an online app.
If you want to play with a simple floor plan app online, we recommend you sign up for the free version of Floor Planner.
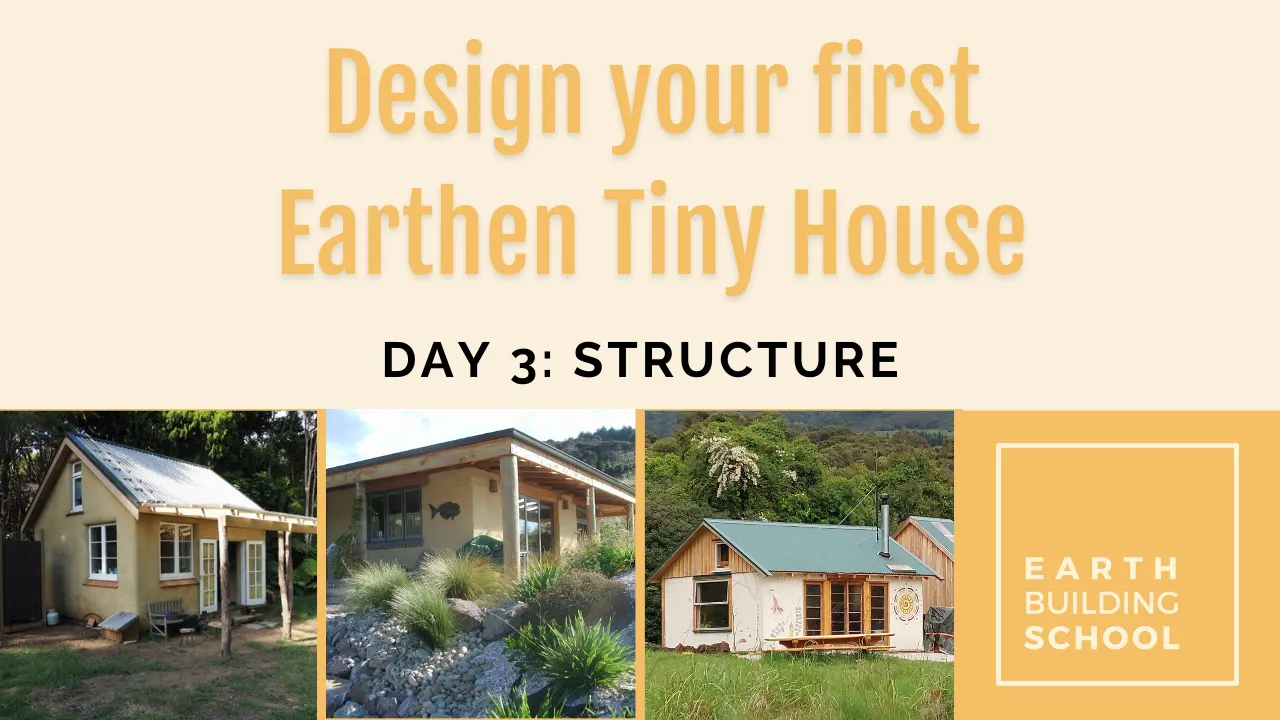
On day three we had a look at the structural elements of your tiny house and covered:
- Wall construction of both timber-earth hybrids, and solid earth buildings
- Foundation types
- Bracing design considerations for both earthquake and wind
- Simple timber roof structures
Every natural building needs a good hat!
Design the timber roof structure of your tiny home. Using the timber-frame standard, determine the timber sizes and fixing of the structural roof elements.
In the training we covered:
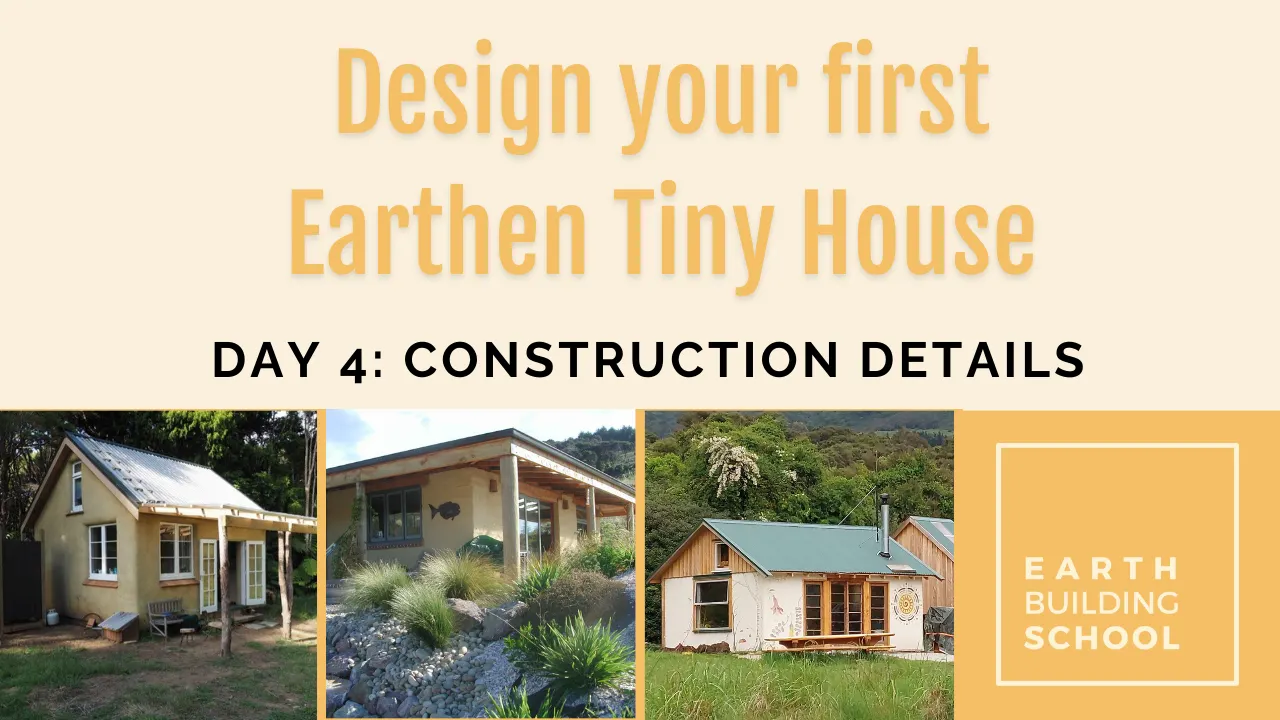
Turning your 2D floor plan into a 3D construction plan
Sketching a section through an interesting part of the building
Elevations and Door/Window schedule
Important construction details such as Foundation-to-Wall and Wall-to-Roof junctions
Construction details around openings (important to keep the weather out!)
For this step, we suggest you sketch by hand for now, unless you have prior knowledge of drafting software such as SketchUp.
Transfer your floor plan (including wall thickness and openings) onto graph paper.
We suggest you aim for a 1:50 scale and use an A4 paper in landscape format for this.
When you have completed all four elevations, calculate the total wall area (minus the openings), so that you can start to calculate material quantities. You can also make a window/door schedule.
You can make a copy of our spreadsheet, which contains rough quantity surveys for both types of construction, so you can play around with your feasibility study moving forward too.
Check out our YouTube Channel for more free lectures and visit www.earthbuildingschool.com to access our free class "Retrofitting with Natural Materials"
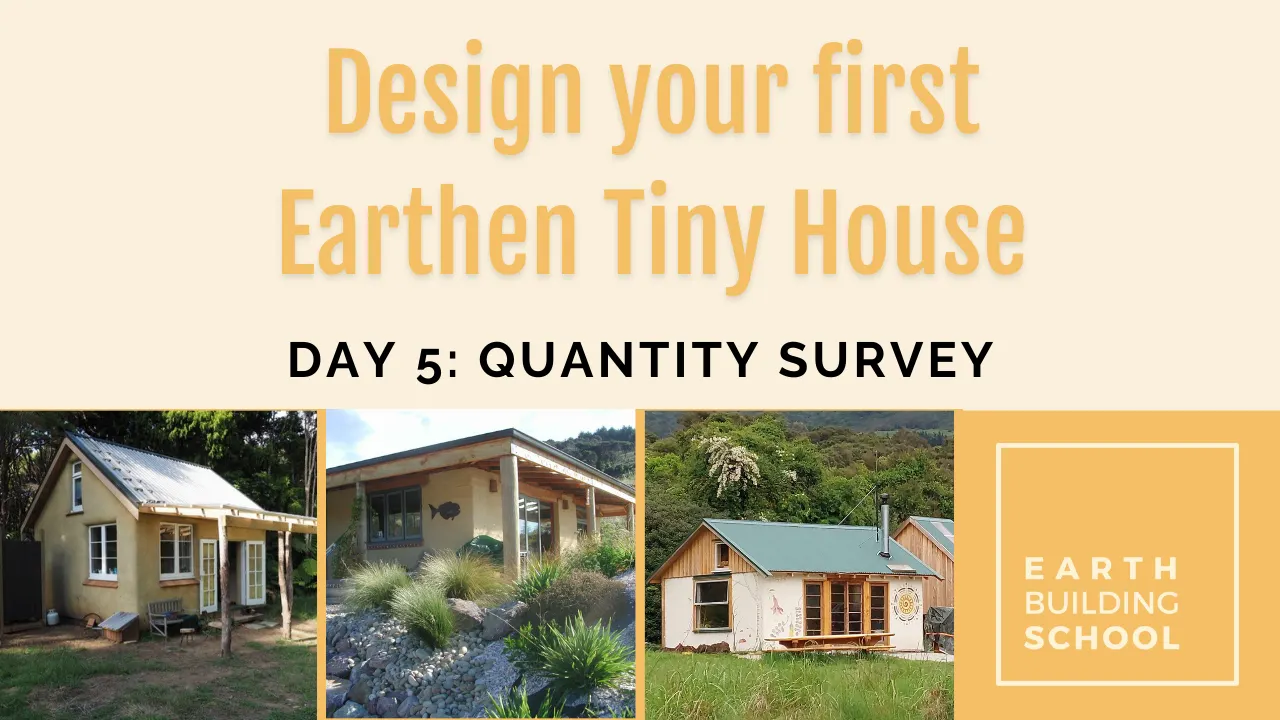
Doing a quantity survey will support you to figure what material quantities and logistics are involved, so that you can be realistic about the feasibility of your project and gage costs.
In the training we covered:
Quantity surveying
Calculating rough costs
Building logistic
Required skills
For your chosen type of construction and based on the area you calculated yesterday, work out the quantities of materials needed for your the wall construction of your tiny home.
Then identify which materials you would have to buy, and which ones you could make yourself or source for free/cheap.
You will also have to do this for the foundations, floor, openings and roof.
Registrations are currently open for our online mentorship Earth Building Academy.
Are you interested?
Click the link below to be taken to the website that covers all the information.
Earth Building Academy
Starting
10 February
SLIDING SCALE PRICE
BONUS 1: Includes access to the Earthen Tiny House Design Challenge Recordings
BONUS 2: Access to an (optional) training for SketchUp
30+ hours of pre-recorded content in 12 modules
Includes 12 live Q&A calls and 12 months of mentorship
Includes live skills practice sessions via zoom
Implement your own project with customized support
Student Testimonials
See what some of our alumni say about the 3-month program EARTH BUILDING ACADEMY
Iza, Aotearoa NZ.
Stephanie, Aotearoa NZ
Alain, Thailand.
Please get in touch if you have questions
-
www.earthbuildingschool.com
www.solidearth.co.nz

